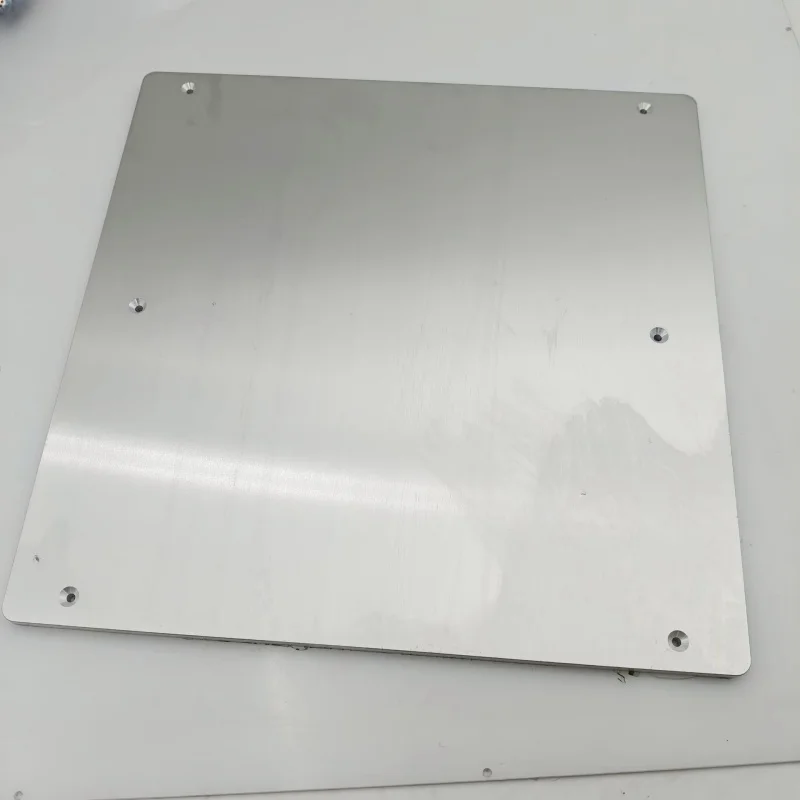
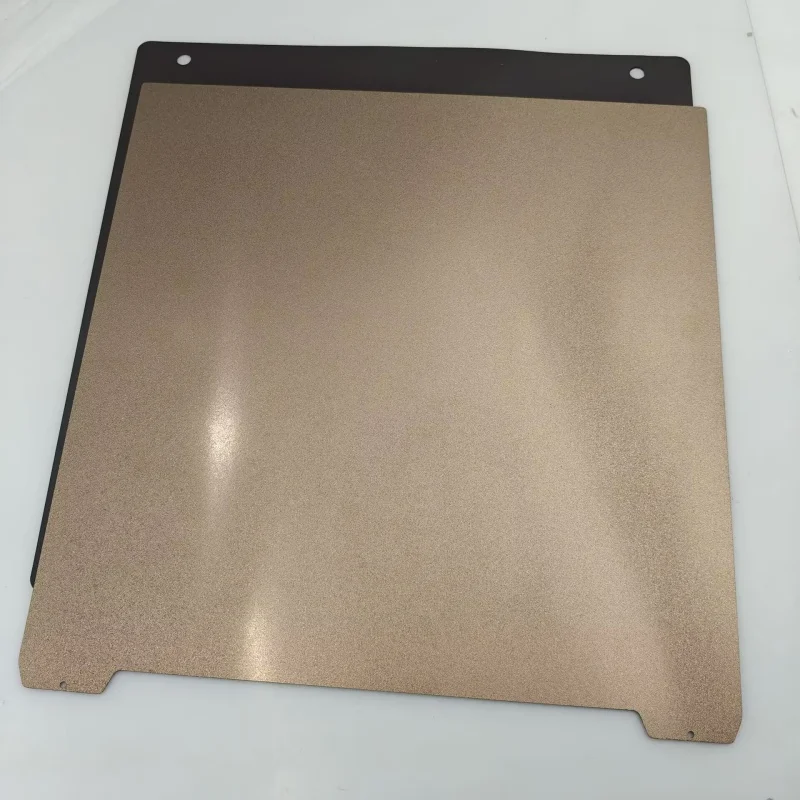
Note:this is Batch 2 Presale listing for USA User.The order would be shipped out in Middle August from USA .Please wait in patience
Thanks for great work from Nadir@CN3D.The kit is Produced in collaboration with Nadir@CN3D
For Instruction Video,please check below link .
https://youtu.be/1E0WSBbUnfc?si=lDBShZ0SEaW55NNP
For 3D-printed border/frame to maintain the OEM look ,please kindly check files below.
https://www.printables.com/model/1217294-sovol-sv08-3d-printer-3d-printed-bed-frame-upgrade
🔧 DIY Kit(Without 3D Printed Parts) Includes:
✅ 8mm flat aluminum build plate (0.1mm flatness)
✅ PEI sheet for excellent adhesion
✅ Magnetic sheet for easy plate removal
✅ Silicone heater for consistent heating
✅ 6x aluminum spacers for perfect elevation
✅ 6x PTFE shims (2mm thickness)
✅ 1x Insulating foam(5mm thickness) for better heat efficiency
✅ New screws for secure installation
🔥 Key Features:
⚡ Built-in 135°C thermal fuse in the silicone pad
⚡ Supports 240V & 110V setups (detailed wiring info below)
⚡ Heats up to 120°C
⚡ Ultra-flat (≤0.1mm deviation)
⚡ 8mm thick 6061aluminum – No more warped 'taco' beds!
Perfect for toolchangers and anyone wanting a rock-solid printing surface!

More information about the Wiring:
🇺🇸 USA / 110V setup (Parallel mode):
A1 → Line (L / Hot)
A2 → Line (L / Hot) (same as A1)
B → Neutral (N)
This gives 110V across each heater half, wired in parallel.
Both A1 and A2 push current to B (center tap), which returns via Neutral.
🇪🇺 Europe / 220V setup (Series mode):
A1 → Line (L / Hot)
A2 → Neutral (N)
B → Leave unconnected / insulated
This puts the two 39Ω heater halves in series, and gives full 220V across A1–B–A2.
No need to use the center tap (B) here.
✅ This is totally fine and normal — the two heating elements add up to 78Ω, and current flows from L → through both heaters → to N.
🧠 Why the difference?
At 110V, you need to run each half at full voltage → use both in parallel, center tap returns to Neutral.
At 220V, you can run them in series, and the total heater resistance matches your voltage for correct power draw.


Bed Mesh at 120C (Shared by Nadir)

Bed Mesh at 50C (Shared by Nadir)